Maintaining a hygienic kitchen is crucial for a healthy home. Often, we overlook certain areas that harbor dirt and bacteria, making it essential to identify and thoroughly clean these spots.
Your kitchen is not just a place for cooking; it’s also a breeding ground for germs and bacteria if not properly maintained. Regular cleaning tips can help keep your kitchen spotless and hygienic.

By focusing on the dirtiest areas in your kitchen, you can significantly improve your kitchen’s overall hygiene. This guide will walk you through the most critical spots that need your attention.
Key Takeaways
- Regularly clean high-touch areas to prevent germ spread.
- Focus on often-overlooked spots like behind appliances.
- Improve kitchen hygiene with daily cleaning routines.
- Use appropriate cleaning products for different surfaces.
- Maintain a clutter-free kitchen to reduce dirt accumulation.
The Hidden Dangers Lurking in Your Kitchen
While your kitchen may be where you prepare delicious meals, it can also harbor hidden dangers that threaten your health. Maintaining kitchen hygiene is crucial to prevent the spread of bacteria and other pathogens.
Why Kitchen Hygiene Matters
Kitchen hygiene is not just about keeping your kitchen looking clean; it’s about creating a safe environment for food preparation. A clean kitchen ensures that the food you prepare is safe to eat, reducing the risk of foodborne illnesses. As Dr. Lisa Ackerley, a food safety expert, notes, “A clean kitchen is essential for preventing the spread of harmful bacteria like Salmonella and E. coli.”
Health Risks of an Unclean Kitchen
An unclean kitchen can be a breeding ground for bacteria and other pathogens, posing significant health risks. These include food poisoning, allergic reactions, and the spread of infections. For instance,
“Cross-contamination is a major risk factor for food poisoning,”
says a report by theCenters for Disease Control and Prevention. Ensuring your kitchen is clean and hygienic can mitigate these risks.
Some of the common health risks associated with an unclean kitchen include:
- Food poisoning from bacteria like Salmonella and E. coli
- Allergic reactions due to cross-contamination
- The spread of infections through contaminated surfaces
By maintaining good cleaning methods and practices, you can significantly reduce these health risks and ensure a safe and healthy kitchen environment.
Refrigerator Door Handles and Seals
Refrigerator door handles and seals are critical areas that require regular cleaning to prevent the buildup of harmful bacteria. These parts are frequently touched and can become breeding grounds for germs, potentially contaminating your food and kitchen environment.
Why They Get Filthy
Refrigerator door handles and seals get dirty due to frequent contact and exposure to moisture. Every time you open or close the refrigerator, your hands transfer oils, dirt, and bacteria to these surfaces. Moreover, the seals around the doors can trap food particles and moisture, creating an ideal environment for mold and mildew to grow.
Effective Cleaning Methods
To clean refrigerator door handles and seals effectively, start by mixing a solution of warm water and mild detergent. Dip a soft cloth into the solution, wring it out thoroughly, and wipe down the handles and seals. For tougher grime or mold, you can use a mixture of equal parts water and white vinegar. Always rinse the cloth frequently to avoid spreading dirt or bacteria.
For stubborn stains or mold on the seals, use a soft-bristled toothbrush to gently scrub the area. After cleaning, dry the handles and seals with a clean towel to prevent water spots and reduce the risk of bacterial growth.
| Cleaning Method | Frequency | Effectiveness |
|---|---|---|
| Mild Detergent Solution | Weekly | High |
| Vinegar Solution | Bi-Weekly | Very High |
| Baking Soda Paste | Monthly | High |
Maintenance Schedule
To maintain cleanliness, it’s recommended to clean refrigerator door handles and seals at least once a week. For households with higher usage, consider increasing the frequency to every few days. Regular maintenance not only keeps these areas clean but also extends the lifespan of your refrigerator by ensuring its seals remain intact and functional.
The Sink and Drain Area: A Bacterial Paradise
Your kitchen sink is more than just a place to wash dishes; it’s a potential hotspot for bacterial growth. The sink and drain area, often overlooked during cleaning, can harbor a multitude of bacteria, making it a critical zone for kitchen hygiene.
Bacterial Hotspots in Your Sink
The sink area, including the basin, faucet, and drain, is prone to accumulating bacteria due to its constant exposure to moisture and organic matter. Food particles and grease can stick to the sink surfaces, creating an ideal environment for bacterial growth. The drain, in particular, is a notorious breeding ground for bacteria due to its warm, damp conditions.
Deep Cleaning Techniques
To effectively clean your sink and drain area, start by scrubbing the sink basin with a mixture of baking soda and vinegar. This natural cleaning solution helps remove grease and food residue. For the drain, use a drain cleaner or a natural alternative like baking soda followed by vinegar, letting it sit before rinsing with hot water. Regularly sanitizing the faucet and sink surfaces with a diluted bleach solution can also help reduce bacterial growth.
For a deeper clean, consider using a soft-bristled brush to scrub away any stubborn stains or grime around the sink and drain. Don’t forget to clean the garbage disposal by running cold water and ice cubes through it to sharpen the blades and remove any debris.
Daily Maintenance Tips
To maintain a clean and hygienic sink area, make it a habit to wipe down the sink surfaces daily with a gentle cleanser. Regularly cleaning the drain and being mindful of what goes down it can prevent clogs and reduce bacterial growth. By incorporating these simple practices into your daily routine, you can keep your sink and drain area clean and reduce the risk of bacterial contamination.
Cutting Boards and Their Hidden Contaminants
Kitchen cutting boards can be a source of cross-contamination if not cleaned and sanitized regularly. Whether you’re using a wooden or plastic cutting board, it’s essential to understand the best practices for maintaining cleanliness and preventing the spread of harmful bacteria.
Cleaning Differences Between Wood and Plastic
The material of your cutting board significantly affects how you should clean it. Wooden cutting boards require gentle care to prevent cracking and damage. They should be washed with mild soap and water, then dried thoroughly. In contrast, plastic cutting boards can withstand more rigorous cleaning, including sanitizing in a dishwasher.

Sanitizing Methods That Actually Work
Sanitizing your cutting board is crucial after handling raw meat, poultry, or seafood. Effective sanitizing methods include:
- Soaking the cutting board in a solution of 1 tablespoon of unscented chlorine bleach in 1 gallon of water for 1-2 minutes.
- Using a sanitizing wipe or spray specifically designed for kitchen surfaces.
- For wooden cutting boards, applying a mixture of equal parts water and white vinegar.
When to Replace Your Cutting Board
Even with proper cleaning and sanitizing, cutting boards have a limited lifespan. Signs that it’s time to replace your cutting board include deep cuts or grooves that can’t be cleaned, excessive wear, and persistent stains or odors. Regularly inspecting your cutting board can help prevent cross-contamination and ensure a clean kitchen environment.
| Cutting Board Material | Cleaning Method | Sanitizing Method |
|---|---|---|
| Wood | Mild soap and water | Equal parts water and white vinegar |
| Plastic | Dishwasher or hot soapy water | 1 tablespoon of unscented chlorine bleach in 1 gallon of water |
Can Openers and Small Appliance Handles
In the kitchen, can openers, and small appliance handles are some of the most neglected areas when it comes to cleaning. These everyday items are frequently touched and used, making them prime candidates for harboring germs and bacteria.
The Overlooked Germ Collectors
Can openers, in particular, are designed with intricate parts that can trap food particles, creating an ideal environment for bacterial growth. Similarly, the handles on small appliances like blenders, toasters, and mixers are touched repeatedly, often without being properly sanitized afterward. This oversight can lead to the spread of harmful bacteria throughout the kitchen.
Quick Cleaning Solutions
Cleaning can openers and small appliance handles is relatively straightforward. For can openers, a mixture of soap and warm water can be used to scrub away food residue. For more stubborn grime, a baking soda paste can be effective. Small appliance handles can be wiped down with a disinfectant wipe or a cloth soaked in a mixture of water and vinegar. Regular cleaning can significantly reduce the bacterial load on these items.
Preventing Cross-Contamination
To prevent cross-contamination, it’s essential to clean and sanitize can openers and appliance handles regularly, especially after handling raw foods. Implementing a routine where these items are cleaned immediately after use can greatly reduce the risk of spreading bacteria to other kitchen surfaces.
| Item | Cleaning Method | Frequency |
|---|---|---|
| Can Openers | Soap and water or baking soda paste | After each use |
| Small Appliance Handles | Disinfectant wipes or vinegar solution | Daily |
Kitchen Sponges and Dishcloths: The Dirtiest Cleaning Tools
While kitchen sponges and dishcloths are meant to keep our kitchens clean, they often become breeding grounds for bacteria. These tools come into contact with food residue, moisture, and warmth, creating an ideal environment for microbial growth.

Why Your Cleaning Tools Need Cleaning
Kitchen sponges and dishcloths are used to wipe down surfaces, clean dishes, and absorb spills. However, if not regularly cleaned, they can harbor harmful bacteria like Salmonella and E. coli. These bacteria can then be transferred to other kitchen surfaces, potentially causing food poisoning.
Regular cleaning of these tools is crucial to prevent the spread of bacteria and maintain kitchen hygiene.
Disinfection Methods That Work
There are several effective ways to disinfect kitchen sponges and dishcloths. One method is to microwave damp sponges for 2 minutes, killing up to 99% of bacteria. Another method is to soak them in a solution of bleach and water (1 tablespoon of unscented bleach in 1 quart of water) for 5 minutes. You can also run them through the dishwasher on a hot cycle.
It’s essential to rinse them thoroughly after disinfection to remove any residual bleach or debris.
When to Replace vs. When to Clean
Not all sponges and dishcloths can be salvaged with cleaning. If you notice a persistent odor or visible wear, it’s likely time to replace them. As a general rule, replace kitchen sponges every 1-3 months and dishcloths every 1-2 months, depending on usage.
For less used sponges and dishcloths, regular disinfection can extend their lifespan. However, if in doubt, it’s always best to err on the side of caution and replace them to maintain kitchen hygiene.
The Complete Guide to Cleaning Your Microwave
The microwave, a staple in most kitchens, can quickly become a breeding ground for bacteria if not regularly cleaned. This not only affects the quality of your food but also poses health risks. Regular microwave cleaning is essential to maintain a hygienic kitchen environment.
Tackling Stubborn Splatter and Odors
Stubborn splatters and odors in your microwave can be challenging to remove, but there are effective methods. One approach is to use a mixture of water and vinegar or lemon juice in a microwave-safe bowl. Heat this mixture until it steams, then let it stand for a few minutes before wiping down the interior with a soft cloth.
For tougher stains, a paste made from baking soda and water can be applied to the affected areas. Let it sit for a while before wiping clean with a damp cloth. These methods are not only effective but also safe and non-toxic.
Natural Cleaning Solutions
Using natural cleaning solutions is a great way to clean your microwave without exposing yourself to harsh chemicals. Besides the vinegar and lemon juice method, you can also use a mixture of equal parts water and white vinegar in a spray bottle. Spray the interior of the microwave and wipe clean with a microfiber cloth.
Another natural solution involves using a microwave-safe container with a mixture of water and a few tablespoons of lemon juice or vinegar. Heat it until boiling, then let it stand for a minute or two before removing and wiping the microwave clean.
Preventative Measures
To prevent future grime buildup, it’s essential to adopt a regular cleaning routine. After each use, wipe down the microwave interior with a damp cloth. Covering your food with a microwave-safe lid or plastic wrap can also help reduce splatters.
| Cleaning Method | Frequency | Effectiveness |
|---|---|---|
| Vinegar and Water | Weekly | High |
| Baking Soda Paste | Monthly | Very High |
| Lemon Juice and Water | Bi-Weekly | High |
Coffee Makers and Water Reservoirs
The daily brew from your coffee maker might be hiding a dirty secret: mineral buildup and mold. Coffee makers, while convenient, can become breeding grounds for bacteria and mold if not properly maintained. This not only affects the taste of your coffee but also poses health risks.
Hidden Mold and Mineral Buildup
Mineral buildup, or scaling, occurs when water containing minerals like calcium and magnesium is heated, leaving deposits behind. Over time, these deposits can clog your coffee maker and create an environment conducive to mold growth. Mold thrives in damp environments, making the water reservoir of your coffee maker a potential hotspot.
According to a study, “the complex internal machinery of coffee makers can harbor a significant amount of bacterial and fungal contaminants, potentially leading to health issues in consumers”
“Regular cleaning and maintenance are crucial to prevent the buildup of harmful microorganisms.”
Descaling and Sanitizing Procedures
To combat mineral buildup and mold, regular descaling and sanitizing are essential. Descaling involves removing mineral deposits, typically using a solution of water and white vinegar or a commercial descaling product. For sanitizing, a mixture of water and bleach or a sanitizing solution can be used.
Descaling Steps:
- Mix a solution of equal parts water and white vinegar.
- Run the solution through the coffee maker as if making coffee.
- Repeat the process until the reservoir is empty.
- Rinse thoroughly with fresh water.
| Cleaning Method | Frequency | Benefits |
|---|---|---|
| Descaling with Vinegar | Every 3-6 months | Removes mineral deposits, improves taste |
| Sanitizing with Bleach | Every 1-3 months | Kills bacteria and mold, ensures hygiene |
Maintenance Schedule for Different Types
Different coffee makers have varying maintenance needs. For instance, drip coffee makers require more frequent descaling than single-serve machines due to their larger water reservoirs. It’s essential to consult your coffee maker’s manual for specific maintenance recommendations.
By following a regular maintenance schedule and adhering to proper descaling and sanitizing procedures, you can ensure your coffee maker remains clean and functional, providing you with a perfect cup of coffee every time.
Cabinet and Drawer Handles: High-Touch, Low-Cleaning Areas
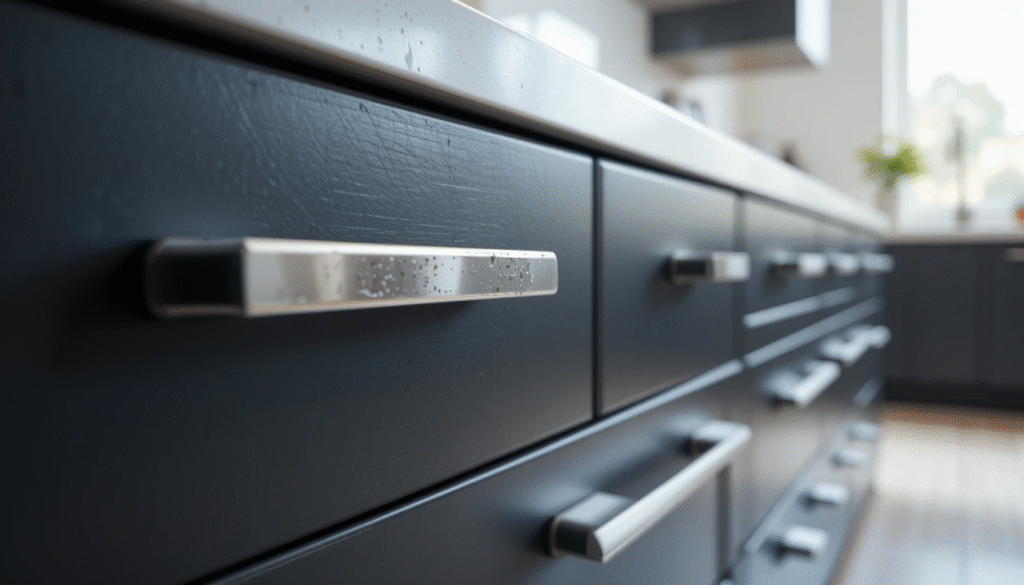
High-touch areas like cabinet and drawer handles can harbor a significant amount of germs. These areas are often overlooked during regular cleaning, making them breeding grounds for bacteria.
Germs on the Loose
Cabinet and drawer handles are frequently touched, making them prone to accumulating germs. This can lead to cross-contamination and potentially harm the health of your household members.
Effective Cleaning Solutions
To keep these areas clean, use a disinfectant spray or wipes. For metal handles, a mixture of vinegar and water can be effective. Regularly wiping down the handles with a microfiber cloth can also help prevent germ buildup.
| Handle Type | Cleaning Method | Frequency |
|---|---|---|
| Metal | Vinegar and water mixture | Daily |
| Plastic or Wood | Disinfectant spray or wipes | Daily |
Incorporating into Your Routine
To maintain cleanliness, incorporate handle cleaning into your daily routine. A quick wipe-down during your morning or evening kitchen cleanup can make a significant difference.
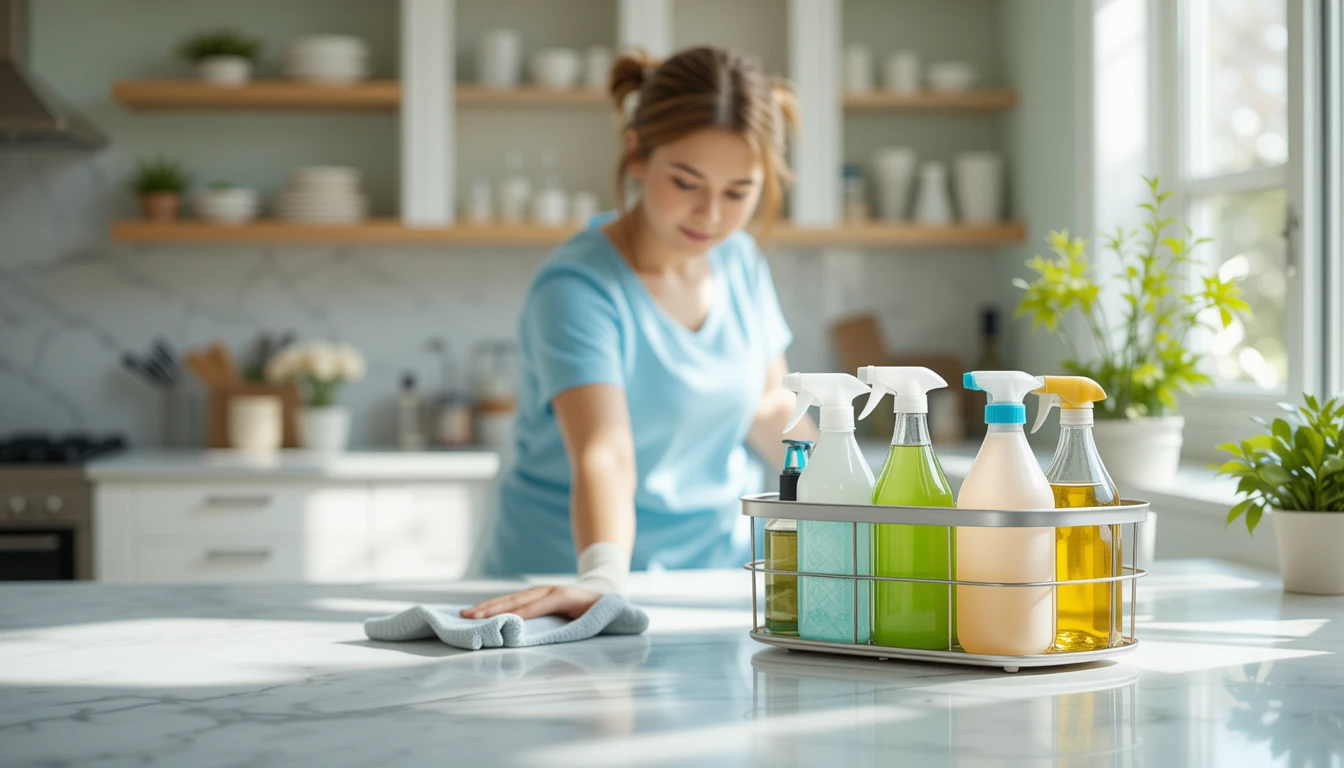
Essential Kitchen Cleaning Supplies and Techniques for a Spotless Space
Maintaining a spotless kitchen requires the right cleaning supplies and techniques. A well-organized cleaning routine not only keeps your kitchen looking its best but also ensures a healthier environment for cooking and dining. By focusing on essential cleaning products and efficient methods, you can achieve a sparkling clean kitchen with minimal effort.
Must-Have Cleaning Products
To effectively clean your kitchen, you’ll need a selection of essential cleaning products. Multi-surface cleaners are versatile and can be used on countertops, sinks, and faucets. Disinfecting wipes are handy for quick cleanups, especially around high-touch areas like handles and switches. For tougher jobs, a heavy-duty degreaser can help tackle grease and grime on stoves and ovens.
Time-Saving Cleaning Routines
Implementing time-saving cleaning routines can make maintaining a clean kitchen more manageable. Start by cleaning as you go; washing utensils and wiping down surfaces during meal prep can significantly reduce post-meal cleanup. Create a daily routine that includes quick tasks like wiping down the sink and stove after use. For deeper cleaning tasks, allocate specific days of the week to focus on different areas, such as the refrigerator or cabinets.
Eco-Friendly Alternatives
For those looking to reduce their environmental impact, eco-friendly cleaning alternatives are a great option. White vinegar and baking soda are effective natural cleaners that can be used for a variety of tasks, from descaling appliances to scrubbing surfaces. Opting for eco-friendly cleaning products that are free from harsh chemicals can also contribute to a healthier home environment.
Conclusion: Maintaining a Healthier Kitchen Through Regular Cleaning

Maintaining a clean kitchen is crucial for a healthier home. By implementing the cleaning tips and schedules outlined in this article, you can significantly reduce the risk of germ transmission and keep your kitchen a safe space for food preparation.
Regular cleaning is essential for kitchen maintenance. Focus on high-touch areas like refrigerator door handles, sink faucets, and cabinet handles, which can harbor germs and bacteria. Incorporate daily and weekly cleaning routines to keep these areas sanitized.
A healthier kitchen is achievable through consistent effort. By dedicating time to cleaning and maintenance, you can prevent the buildup of bacteria and germs, ensuring a cleaner and safer environment for cooking and dining.
Make kitchen maintenance a part of your routine to enjoy a cleaner, healthier kitchen. With these simple tips and schedules, you can keep your kitchen sparkling clean and reduce the risk of illness.
FAQ
How often should I clean my kitchen to maintain hygiene?
To maintain a hygienic kitchen, it’s recommended to clean high-touch areas and surfaces daily, with a deeper clean of appliances and less frequently used areas on a weekly or bi-weekly basis.
What are the most effective cleaning products for kitchen surfaces?
Effective cleaning products for kitchen surfaces include all-purpose cleaners, disinfectants, and sanitizers. For tougher grime, degreasers can be used, while eco-friendly alternatives like baking soda and vinegar are also effective.
How can I prevent bacterial growth in my kitchen sink and drain?
To prevent bacterial growth, regularly clean your sink and drain with a disinfectant, and consider using a drain screen to catch debris. Daily maintenance like rinsing with hot water and occasionally using baking soda and vinegar can also help.
What’s the best way to sanitize cutting boards?
To sanitize cutting boards, wash them with soap and water, then apply a sanitizing solution like bleach or vinegar. For wooden boards, a mixture of equal parts water and white vinegar or a wood-safe sanitizer is recommended.
How often should kitchen sponges and dishcloths be replaced?
Kitchen sponges should be replaced every 1-3 months, or sooner if they show signs of wear. Dishcloths should be washed regularly and replaced when they become worn or smelly.
Can I use natural cleaning solutions for my microwave?
Yes, natural cleaning solutions like a mixture of water and lemon juice or vinegar can be effective for cleaning the microwave. Simply heat the solution in the microwave to create steam, which helps loosen grime.
How do I descale my coffee maker?
To descale your coffee maker, mix a descaling solution according to the manufacturer’s instructions, or use a mixture of equal parts water and white vinegar. Run the solution through the coffee maker’s brewing cycle to remove mineral buildup.
What’s the best way to clean cabinet and drawer handles?
To clean cabinet and drawer handles, use a disinfectant wipe or a cloth dampened with a mixture of soap and water. For tougher grime, a degreaser can be used. Regular cleaning can help prevent germ buildup.
Are there eco-friendly alternatives to traditional cleaning products?
Yes, eco-friendly alternatives include products labeled as biodegradable or non-toxic, as well as homemade solutions like baking soda, vinegar, and lemon juice. These can be effective for various cleaning tasks around the kitchen.